The Scariest Screen in IT: Your Friendly Guide to Fixing the “No Bootable Device” Error
Don’t panic! That black screen is more of a puzzle than a catastrophe. Let’s solve it together, one simple step at a time.
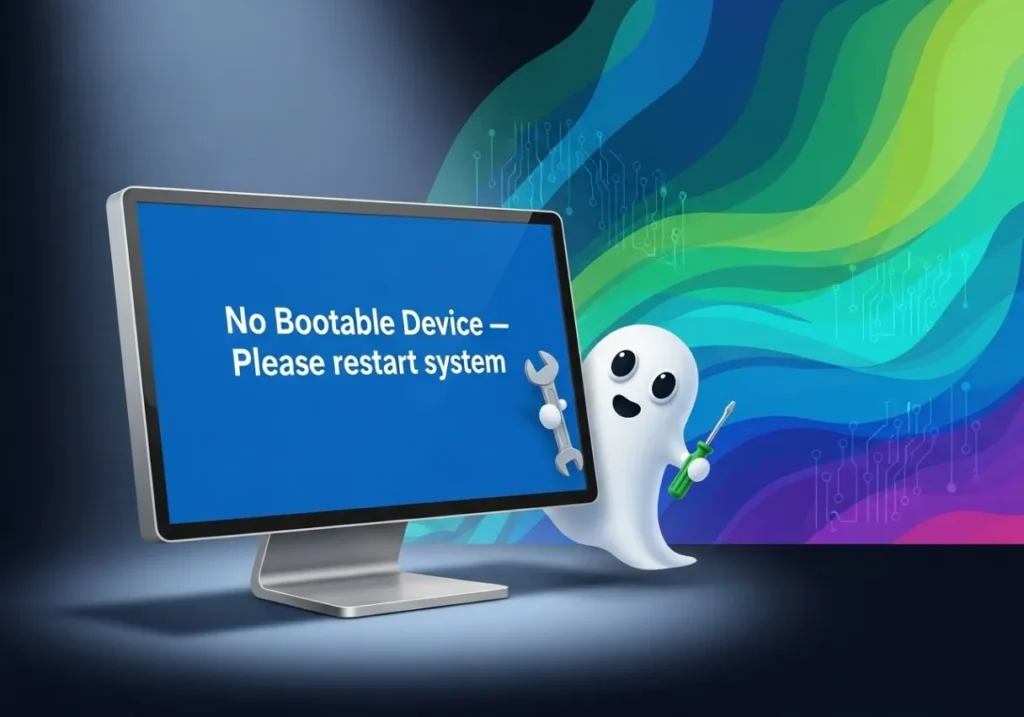
No Bootable Device Found
Insert boot media in selected boot device and press a key
This screen is intimidating, but often easy to fix.
You press the power button, expecting to see your familiar desktop. Instead, you’re greeted by a stark, black screen with ominous white text: No Bootable Device Found, Boot Device Not Found, or Insert boot media in selected boot device and press a key.
Your heart sinks. Is your data gone? Is your computer toast? Take a deep breath. This is one of the most common issues an IT professional encounters, and more often than not, the fix is surprisingly simple.
Think of it this way: when your computer starts, it’s like a librarian trying to find a specific instruction manual (your operating system, like Windows). This error is just the librarian shouting, “I can’t find the manual!” Our job is to act as a helpful guide and point the librarian in the right direction. We’ll start with the easiest, most common solutions and work our way to the more advanced ones.
Section 1: The First Responder’s Checklist (Easy Fixes)
Before you even think about opening your computer or diving into complex settings, let’s rule out the most frequent culprits. These steps solve the problem for a huge percentage of users.
1.1 The “Oops, I Left a USB Stick In” Check
This is, without a doubt, the #1 cause of this error. It’s so common that it’s the first thing any IT technician will ask you. Your computer is programmed to look for startup instructions in a specific order, called the “Boot Order.” Many computers are set to check USB ports or DVD drives before looking at the main internal hard drive. If you have a non-bootable USB drive (like one with just documents on it) plugged in, the computer finds it first, tries to boot from it, fails, and gives up.
What to do:
- Physically inspect your computer. Look at every single USB port.
- Unplug everything that isn’t essential. This includes USB flash drives, external hard drives, phones, and even memory cards in a card reader.
- If you have a DVD or Blu-ray drive, eject it to make sure there isn’t a disc inside.
- Restart your computer. Don’t just press the reset button; do a full shutdown and power it back on.
If your computer starts up normally, congratulations! You’ve found the issue. This is a simple settings problem, not a hardware failure. You can prevent it from happening again by changing the Boot Order in your BIOS/UEFI settings (we’ll cover that in Section 3), but for now, just remember to unplug your devices before booting up.
1.2 The Magic of a Full Power Cycle
Sometimes, electronics just get into a weird state. A temporary glitch in the computer’s memory (RAM) or a component not initializing correctly can cause this error. A simple restart doesn’t always clear this state, but a “power cycle” does.
What to do:
- Press and hold the power button on your computer for about 10-15 seconds. This will force a hard shutdown.
- Unplug the power cable from the back of the computer (or the laptop’s AC adapter from the wall).
- If it’s a laptop, and it has a removable battery, take it out.
- Wait for a full minute. This allows all the residual electricity to drain from the components, resetting them completely.
- Plug everything back in, re-insert the battery if you removed it, and turn the computer on.
This simple act of “letting it rest” can resolve a surprising number of mysterious boot issues.
Section 2: The Physical Inspection (For Desktop Users)
If the easy fixes didn’t work, it’s time to peek under the hood. The problem might be a simple physical disconnect between your hard drive (where the “instruction manual” is stored) and the motherboard (the “librarian”).
2.1 Checking for Loose Cables
Inside your computer, two cables connect your hard drive or Solid State Drive (SSD) to the rest of the system. Over time, due to vibrations or if the PC was recently moved, these can become slightly dislodged—enough to break the connection.
Safety First!
- Unplug your computer from the wall outlet. Never work inside a computer that’s plugged in.
- Touch a metal part of the computer’s case before you touch any components. This grounds you and discharges any static electricity from your body, which can damage sensitive electronics.
What to do:
- Open your computer’s side panel (this usually involves removing two screws on the back).
- Locate your hard drive(s). They are rectangular boxes, typically mounted in a drive bay.
- Identify the two cables connected to it:
- SATA Data Cable: A thin, flat cable (usually red, black, or blue) with a small, L-shaped connector.
- SATA Power Cable: A wider, flat cable coming from the power supply unit with a larger L-shaped connector.
- Gently but firmly unplug both cables from the hard drive and plug them back in. You should feel a slight click as they seat properly.
- Follow the SATA data cable to where it connects to the motherboard and reseat that end as well.
Once you’re confident the connections are secure, put the side panel back on, plug the computer in, and try to boot. A loose cable is an incredibly common and satisfyingly easy fix.
Section 3: Diving into the BIOS/UEFI
If the physical checks didn’t work, we need to investigate the computer’s most fundamental settings. The BIOS (Basic Input/Output System) or its modern successor, UEFI (Unified Extensible Firmware Interface), is the very first program that runs. It’s the manager that wakes up all the hardware and tells the computer where to look for the operating system.
3.1 How to Enter the BIOS/UEFI
You need to act fast to get in. The window of opportunity is only a few seconds long as the computer first powers on.
- Restart your computer.
- As soon as you see the manufacturer’s logo (e.g., Dell, HP, ASUS), start repeatedly pressing the designated setup key.
The key varies by brand, but it’s almost always one of these:
- Dell: F2 or F12
- HP: ESC or F10
- Lenovo: F1, F2, or the “Enter” key followed by a menu
- ASUS / MSI: DEL or F2
The screen itself will often flash a message like “Press DEL to enter Setup.” Once inside, you’ll see a menu that might look old and text-based (BIOS) or more modern and graphical (UEFI). Use your arrow keys (and mouse, if supported) to navigate.
3.2 Investigation Part 1: Is the Drive Even Detected?
Our first question for the BIOS is simple: “Can you even see the hard drive?” Somewhere in the menus, usually under a tab called “Main,” “System Information,” or “SATA Configuration,” you should find a list of connected storage devices.
Look for the model name of your drive, something like WDC WD10EZEX or Samsung SSD 970 EVO.
- If you SEE your drive listed: Excellent! This is great news. It means the hardware is connected and likely functional. The problem is a settings issue. Proceed to the next step.
- If you DO NOT see your drive listed: This is a potential red flag. Go back to Section 2 and double-check your cables. If the cables are secure and the drive still isn’t showing up here, it strongly suggests the drive itself may have failed.
3.3 Investigation Part 2: Checking the Boot Order
If the drive is detected, the next step is to ensure it’s at the top of the “to-do list.” Navigate to the “Boot,” “Boot Priority,” or “Boot Sequence” tab. You’ll see a numbered list of devices.
The device at position #1 is the first place the computer will look for an operating system.
What to look for:
- You want to see “Windows Boot Manager” as the #1 option. This is the most common entry for modern Windows installations.
- Alternatively, you might see the specific model name of your hard drive/SSD.
If your USB drive, DVD drive, or “Network Boot” is listed first, that’s your problem. Use the on-screen instructions (usually the +/- or F5/F6 keys) to move “Windows Boot Manager” or your hard drive to the top of the list.
In the Boot settings, you might also see an option for “Boot Mode” set to “UEFI” or “Legacy” (sometimes called “CSM”). Modern Windows is installed in UEFI mode. If this setting was somehow changed to “Legacy,” it won’t be able to find the UEFI boot files. Ensure this is set to UEFI if you’re running Windows 10 or 11.
Once you’ve corrected the order, navigate to the “Exit” tab and choose “Save Changes and Exit” (often the F10 key). The computer will restart, and with any luck, it will now find its “instruction manual” and boot into Windows.
Section 4: The Recovery Toolkit (Advanced Software Fixes)
If you’ve reached this point, it means the hardware is connected correctly and the BIOS is pointing to the right drive, but the critical startup files on that drive are corrupted or missing. It’s like the librarian found the manual, but the first few pages are torn out. Now, we need to use a special recovery tool to repair them.
4.1 Booting from Your Rescue Media
Insert your Windows Installation USB into the broken computer. Restart it and enter the BIOS/UEFI again (as in Section 3). This time, change the Boot Order to make the USB Drive #1. Save and exit. The computer should now boot from the USB drive and load the Windows Setup screen.
4.2 The Automated Doctor: Startup Repair
On the main Windows installation screen, don’t click “Install Now.” Instead, look for a link in the bottom-left corner that says “Repair your computer.”
This will take you to a blue menu. Follow this path:
Troubleshoot → Advanced options → Startup Repair
This tool will automatically scan for common boot problems and attempt to fix them. It’s the simplest option, so always try it first. Let it run completely. If it finds and fixes something, it will tell you. If not, it will report that it couldn’t repair the PC.
4.3 The Surgical Tools: Using the Command Prompt
If Startup Repair failed, it’s time for manual surgery. Go back to the blue “Advanced options” menu and select “Command Prompt.” This opens a black window where we can give the computer direct orders. Type the following commands one by one, pressing Enter after each.
Tool 1: Bootrec – The Boot Record Specialist
This tool is designed specifically to fix boot-related issues.
bootrec /fixmbr
(Analogy: This repairs the Master Boot Record, the “main index” at the very front of the book that tells the computer where to even start looking for an operating system.)bootrec /fixboot
(Analogy: This writes a new boot sector, which is like replacing the “Title Page” of the instruction manual.)bootrec /scanos
(Analogy: This asks the librarian to scan all the shelves to find every copy of the Windows manual.)bootrec /rebuildbcd
(Analogy: This takes the list from the scan and officially rebuilds the master checkout list—the Boot Configuration Data—so the librarian knows which manuals are available.)
Tool 2: SFC and CHKDSK – The System Integrity Guardians
If the boot records are fine, the problem might be corruption in the Windows system files or physical errors on the drive itself.
sfc /scannow
(Analogy: System File Checker is a proofreader. It meticulously checks the Windows “manual” for corrupted or missing pages and replaces them with clean copies from a backup.)chkdsk C: /f /r
(Analogy: Check Disk is like a structural engineer for the bookshelf. It checks the drive for physical errors (bad sectors), cordons them off so they aren’t used again, and tries to recover any data from them. The/ffixes errors and the/rlocates bad sectors.)
After running these commands, close the Command Prompt, remove the USB drive, and restart the computer.
Section 5: The Final Diagnosis
If you have exhausted all the steps above and are still staring at the “No Bootable Device” screen, we are down to the two most serious possibilities.
5.1 Facing Hardware Failure
It’s a tough pill to swallow, but your hard drive or SSD may have reached the end of its life. The signs were there if the drive stopped showing up in the BIOS (Section 3.2), or if you heard any clicking or grinding noises leading up to the failure. At this point, the only options are to replace the drive or, if the data is critical, consult a professional data recovery service (which can be expensive).
5.2 The Nuclear Option: A Clean Reinstall of Windows
If the drive IS detected in the BIOS but the software repairs failed, the operating system is likely too corrupted to be saved. A fresh installation is the only way forward.
To do this, boot from your Windows Installation USB again. This time, click “Install Now” and follow the on-screen prompts to install a fresh copy of Windows on your drive.
You Did It! (Or at Least, You Diagnosed It)
Troubleshooting a computer isn’t about knowing the answer immediately; it’s about following a logical process of elimination. You’ve just walked through the exact same steps a seasoned IT professional would take to diagnose and solve this problem. Whether it was a forgotten USB drive, a loose cable, a misconfigured BIOS setting, or a corrupted boot record, you now have the tools and knowledge to face this error head-on.
What was your fix? Share your success story or ask further questions in the comments below. Your experience could be the key to helping someone else solve their problem!


so much excellent info on here, : D.
Hi there very nice blog!! Man .. Beautiful .. Amazing .. I will bookmark your web site and take the feeds alsoKI am happy to search out numerous useful info right here in the post, we need work out extra strategies in this regard, thank you for sharing. . . . . .
Thanks.
Hi would you mind stating which blog platform you’re working with? I’m going to start my own blog soon but I’m having a hard time making a decision between BlogEngine/Wordpress/B2evolution and Drupal. The reason I ask is because your design and style seems different then most blogs and I’m looking for something completely unique. P.S Apologies for being off-topic but I had to ask!
It?¦s actually a cool and helpful piece of info. I am happy that you simply shared this useful info with us. Please keep us up to date like this. Thank you for sharing.
I don’t think the title of your article matches the content lol. Just kidding, mainly because I had some doubts after reading the article.
Good write-up, I am normal visitor of one¦s blog, maintain up the excellent operate, and It’s going to be a regular visitor for a lengthy time.